


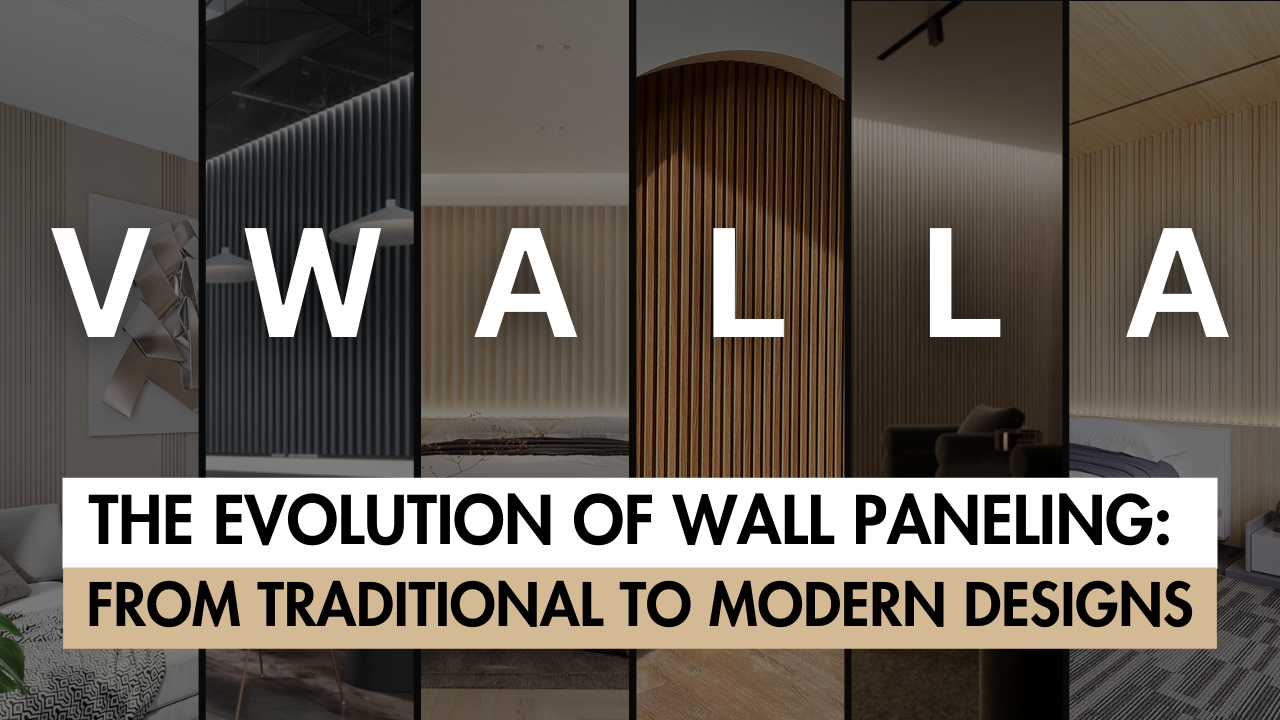
The Evolution of Wall Paneling: From Traditional to Modern Designs
Wall paneling has been an essential aspect of interior design for centuries, transforming ordinary w

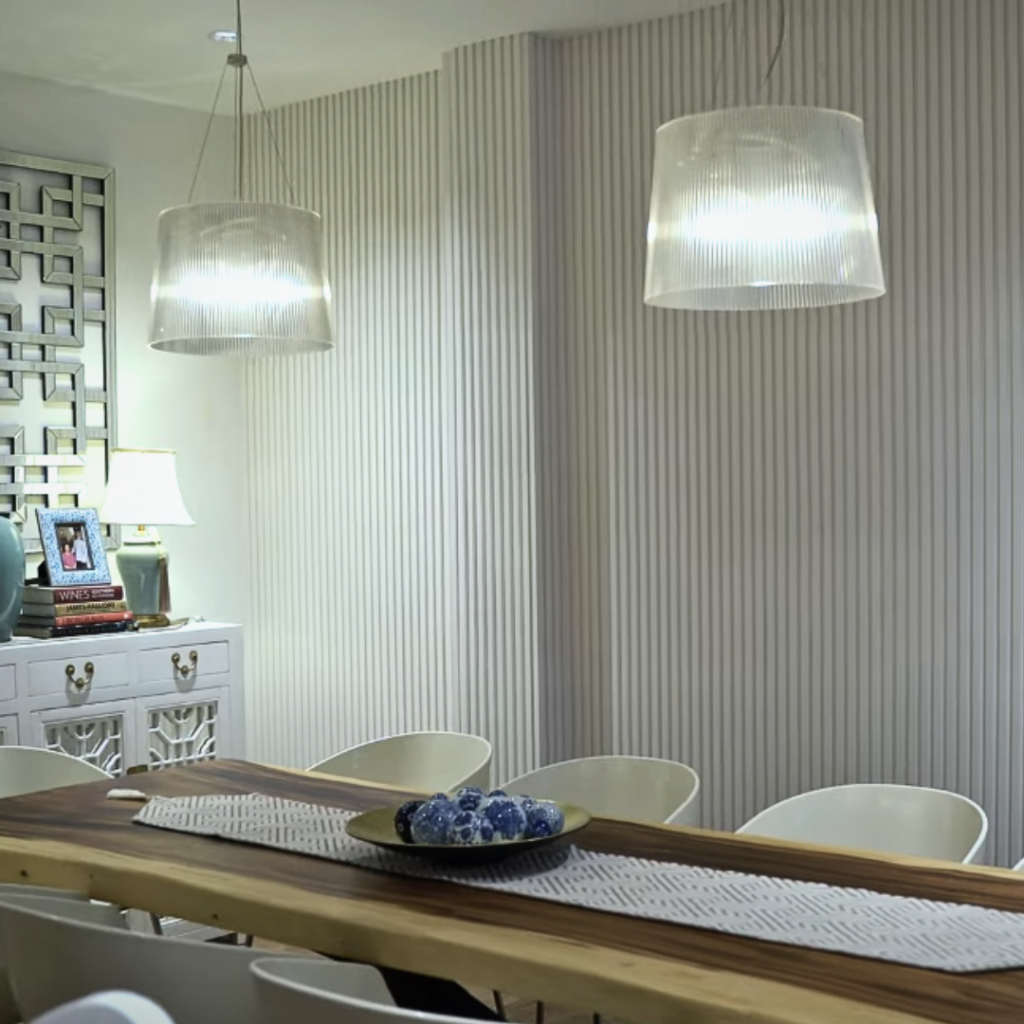
6 Amazing Half Fluted Wall Ideas
Fluted Half Wall Ideas for Your Home are an elegant addition to any room. Fluting the wall adds visu
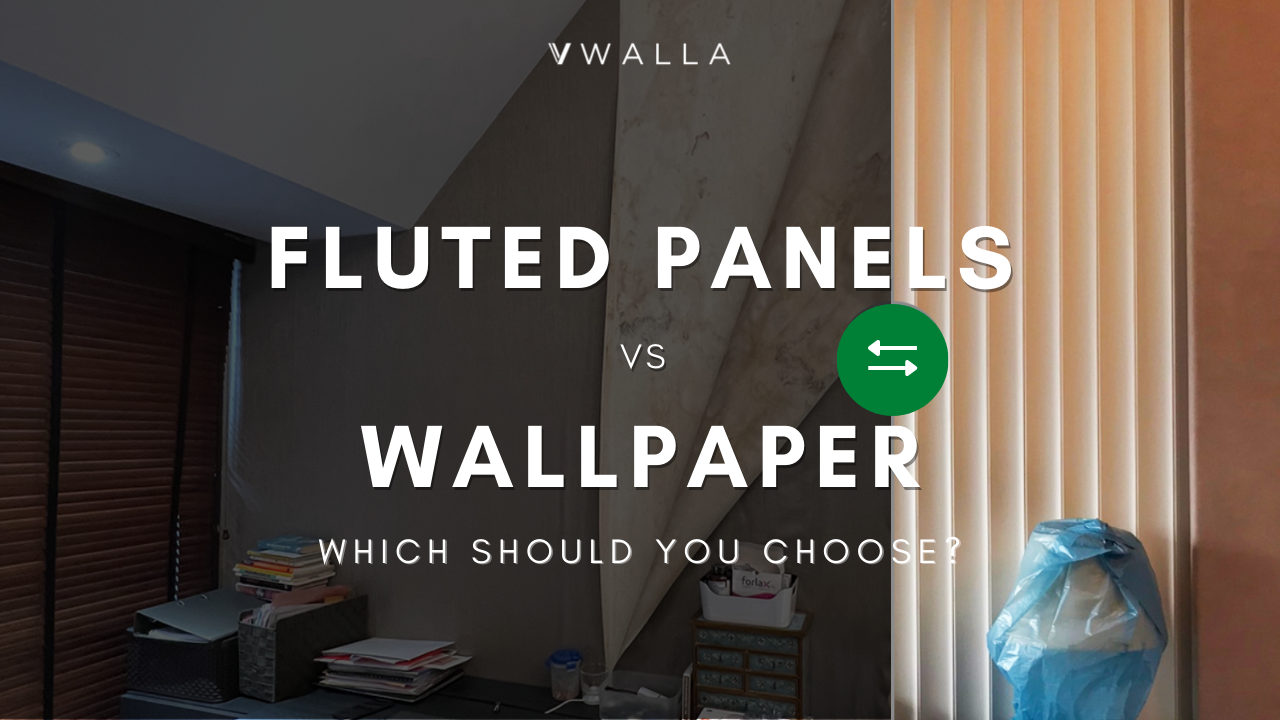
Fluted Panels VS Wallpaper – Which should you choose?
Drag Fluted panels and wallpapers are both popular options for adding visual interest to the walls o